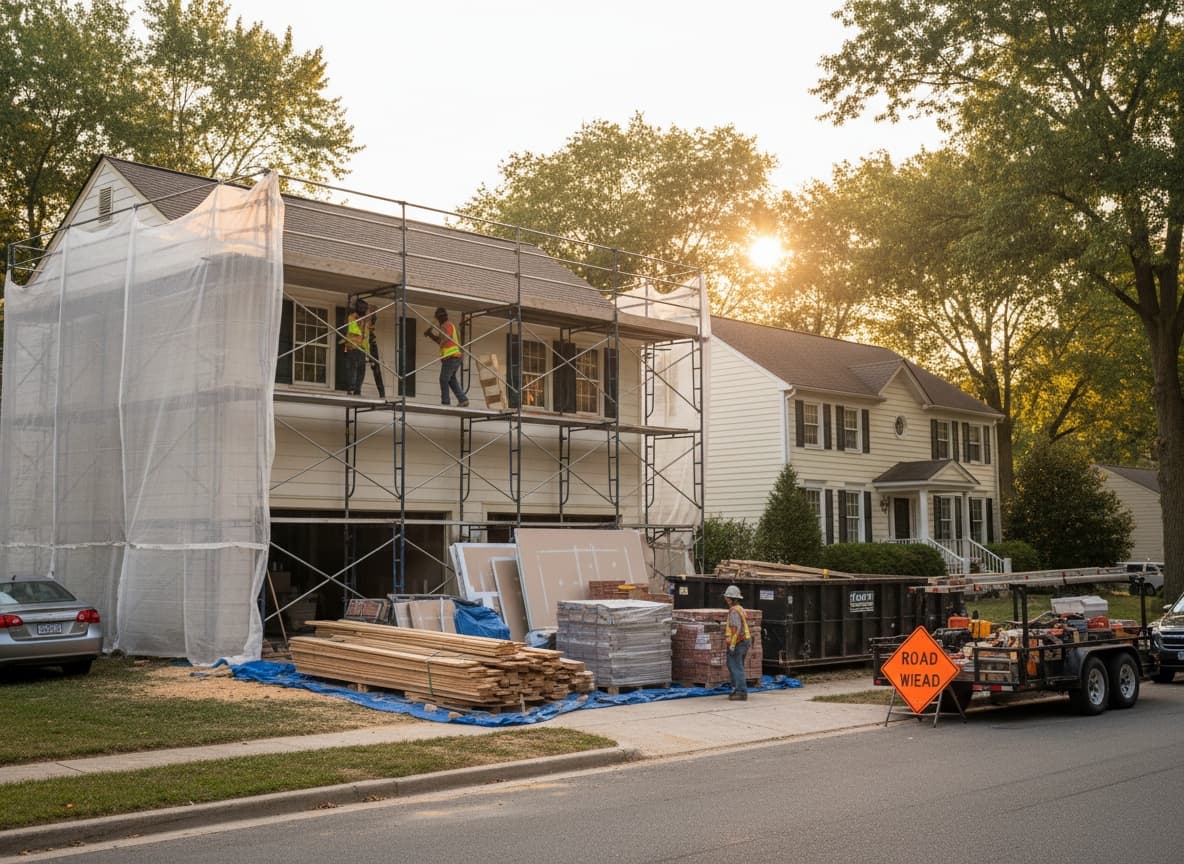
The two weeks before your remodel starts are crucial. Here's the complete checklist we share with every homeowner before demo day. Bookmark this — you'll reference it multiple times.

The 10-Point Pre-Remodel Checklist
1. Verify permits are pulled and posted. Your contractor should handle this, but confirm. The permit card should be visible on the job site. Call your local building department to verify — don't just take the contractor's word for it. A pulled permit is the foundation of a legitimate project.
2. Confirm the materials delivery schedule. Cabinets, tile, and countertops should be ordered and delivery-confirmed before demo begins. Nothing kills a timeline like waiting 6 weeks for backordered cabinets. Ask your contractor for delivery tracking numbers and confirm lead times in writing.
Key lead times to know:
- Stock cabinets: 1–2 weeks
- Semi-custom cabinets: 4–8 weeks
- Custom cabinets: 8–14 weeks
- Countertop fabrication: 2–3 weeks after template
- Special-order tile: 2–4 weeks
- Custom shower glass: 3–6 weeks after measure
3. Clear the work zone completely. Remove all personal items, wall decor, and anything fragile from the work area and adjacent rooms. This includes items inside cabinets and closets that are being removed. Label boxes clearly so you can find things during the weeks of chaos.
4. Photograph everything. Take detailed photos of the current state of the work area, including walls, floors, ceilings, and any existing damage. This protects you in case of disputes. Pro tip: shoot a video walking through the entire space — it captures details that individual photos might miss.
5. Set up a temporary living space. If you're losing a bathroom or kitchen, plan your temporary setup before the chaos starts. See our full guide on preparing your home for a remodel.

6. Arrange pet accommodations. Loud noises, open doors, and unfamiliar people stress pets. Consider daycare or keeping them in a separate, sealed area. Some pets are escape artists — a door left open during material deliveries is all it takes. Alert the crew that you have pets and establish a protocol for keeping exterior doors closed.
7. Know your shutoff valves. Locate your main water shutoff, electrical panel, and gas shutoff. In an emergency, you need to reach these in seconds. Label them clearly. Walk the crew through their locations on day one.
8. Confirm the payment schedule. Review the contract's payment milestones. Typical structure: 10–20% at signing, progress payments at key milestones, final payment upon completion and walkthrough. Make sure milestones are tied to work completion (not dates) so you never pay ahead of progress.
9. Exchange contact information. Get your project manager's direct cell phone number. Email isn't fast enough when you need to make a decision on-site. Establish a preferred communication method — some contractors prefer text, others use project management apps like Buildertrend or CoConstruct.
10. Set realistic expectations. Timelines will shift. Unexpected issues will emerge. The best remodels aren't the ones that go perfectly — they're the ones where the communication never breaks down. Agree upfront on how changes, delays, and decisions will be communicated, and you'll weather any surprise with grace.