The excitement of a remodel fades fast when you're eating takeout for the third week straight and your living room is covered in drywall dust. A little preparation goes a long way. Here's the survival guide we share with every homeowner before their project begins.
1. Set Up a Temporary Kitchen
If you're remodeling the kitchen, move your microwave, toaster oven, and coffee maker to a spare room. Set up a folding table with paper plates and utensils. Stock up on disposable everything — you won't have a functioning sink.
Practical tips:
- Set up a mini-fridge near your temporary cooking station (borrow one or buy a used one for $50–$100)
- Keep a 5-gallon water cooler nearby for drinking and rinsing
- Paper plates, plastic utensils, and disposable cups save you from washing dishes in the bathtub
- Budget an extra $300–$500 for takeout and prepared meals — cooking on a toaster oven gets old fast
2. Create a Dust Barrier
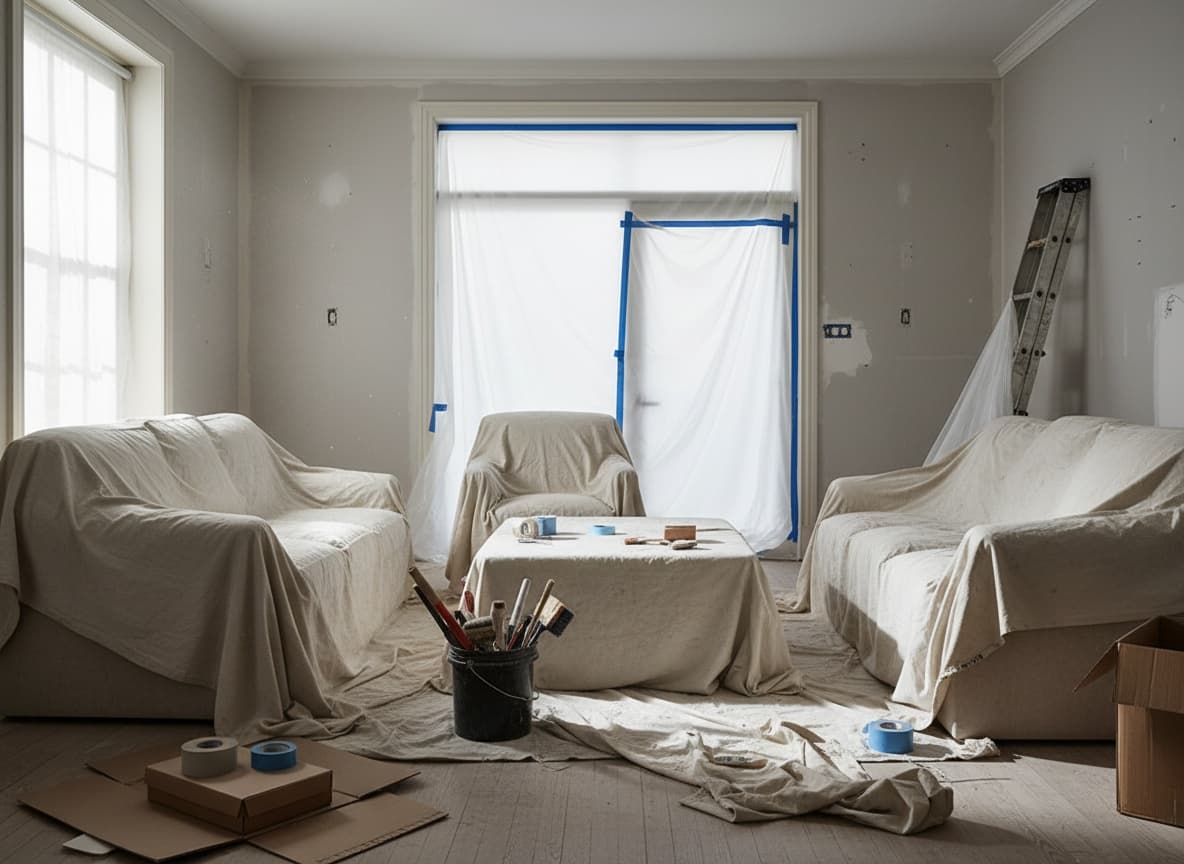
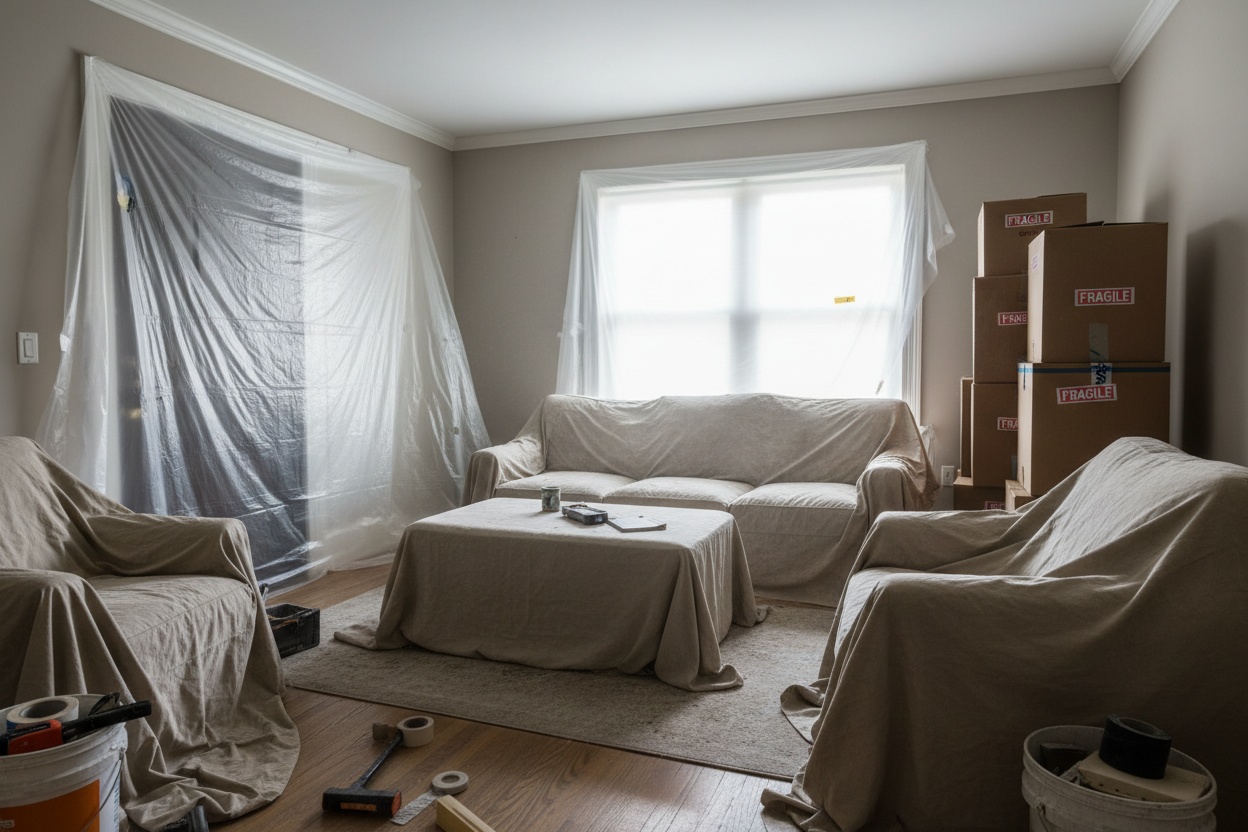
Hang plastic sheeting with painter's tape over doorways to adjacent rooms. Even with dust barriers, fine particulate will get everywhere — cover furniture with drop cloths and consider a portable HEPA air filter.
The pro approach: Use ZipWall poles ($30–$50 from Home Depot) to create floor-to-ceiling dust barriers without damaging door frames. Add a ZipDoor (a zippered plastic sheet) for the primary passage point so the crew can enter and exit without removing the barrier each time.
For homes with central HVAC, cover all return air vents in the work zone with plastic and tape. Construction dust that gets into your ductwork will circulate through the entire house for months.
3. Establish a Contractor Entry Point
Designate a single door for crew entry and exit. Lay down ram board or heavy rosin paper on floors between the entry point and the work area. This prevents tracking debris through your entire house.
Give the crew a spare key or install a temporary lockbox so they can access the house without you being home. Make sure your security system is either deactivated or the crew has the code.
4. Plan for Noise and Schedule Disruptions
Demo is loud. Tile cutting is louder. If you work from home, plan to be elsewhere during demo days. If you have young children, consider adjusting nap schedules around the loudest work (usually 8–11 AM).
Typical noise timeline:
- Week 1 (Demo): The loudest phase. Sledgehammers, saws, and pry bars. Plan to be away during the day if possible.
- Week 2 (Rough-in): Moderate noise. Drilling, hammering, and power tools for framing, plumbing, and electrical.
- Week 3+ (Finish): Quieter. Tile work, painting, and fixture installation. Most noise comes from occasional tile cuts.
5. Communicate With Your Neighbors
Give your neighbors a heads-up about the timeline, expected noise levels, and any driveway/parking impacts. It's a small courtesy that prevents big tensions.
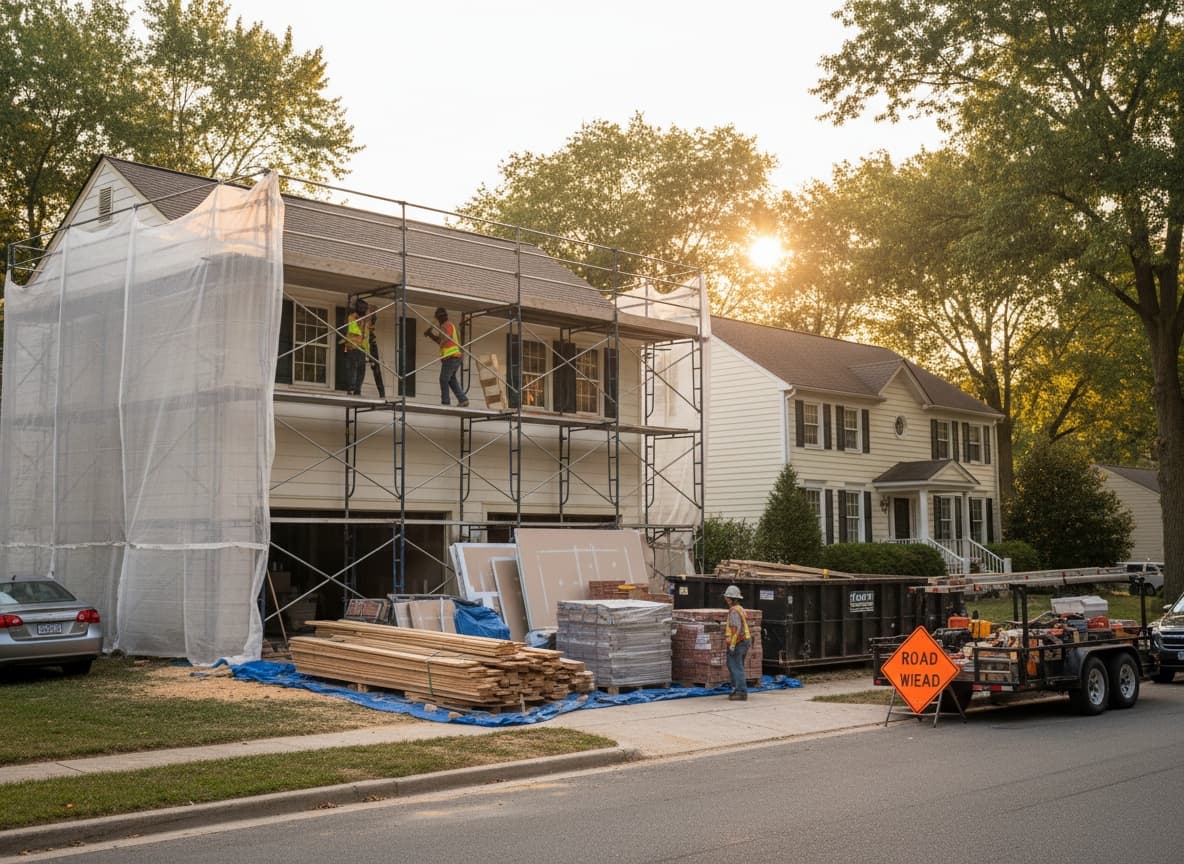
If the contractor will have a dumpster in the driveway, let neighbors know how long it'll be there. If crew trucks will take up street parking, give neighbors a heads-up so they can plan accordingly. A $10 gift card to a coffee shop goes a long way toward buying goodwill during a noisy renovation.
6. Protect Your Valuables
Move anything fragile, irreplaceable, or valuable out of the work zone and adjacent rooms. Construction crews are careful, but vibrations from demolition can knock items off shelves, and dust can damage electronics. If you have art, collectibles, or sensitive electronics near the work area, relocate them to a sealed room or off-site storage.